Running the REST Server
A sample server host is provide for the REST API - this can be found at ./src/Evelyn.Server.Host. By default this will run with an in-memory event store. You won’t want to run this host in a production environment, but it’s useful for now because there are no dependencies to set up and nothing to configure.
You can run the sample host in Visual Studio or on the command line.
Running in Visual Studio
Run the Samples\Evelyn.Server.Host project
Running on the command line
dotnet .\src\Evelyn.Server.Host\bin\Release\netcoreapp2.1\evelyn.server.host.dll
Accessing the REST Server
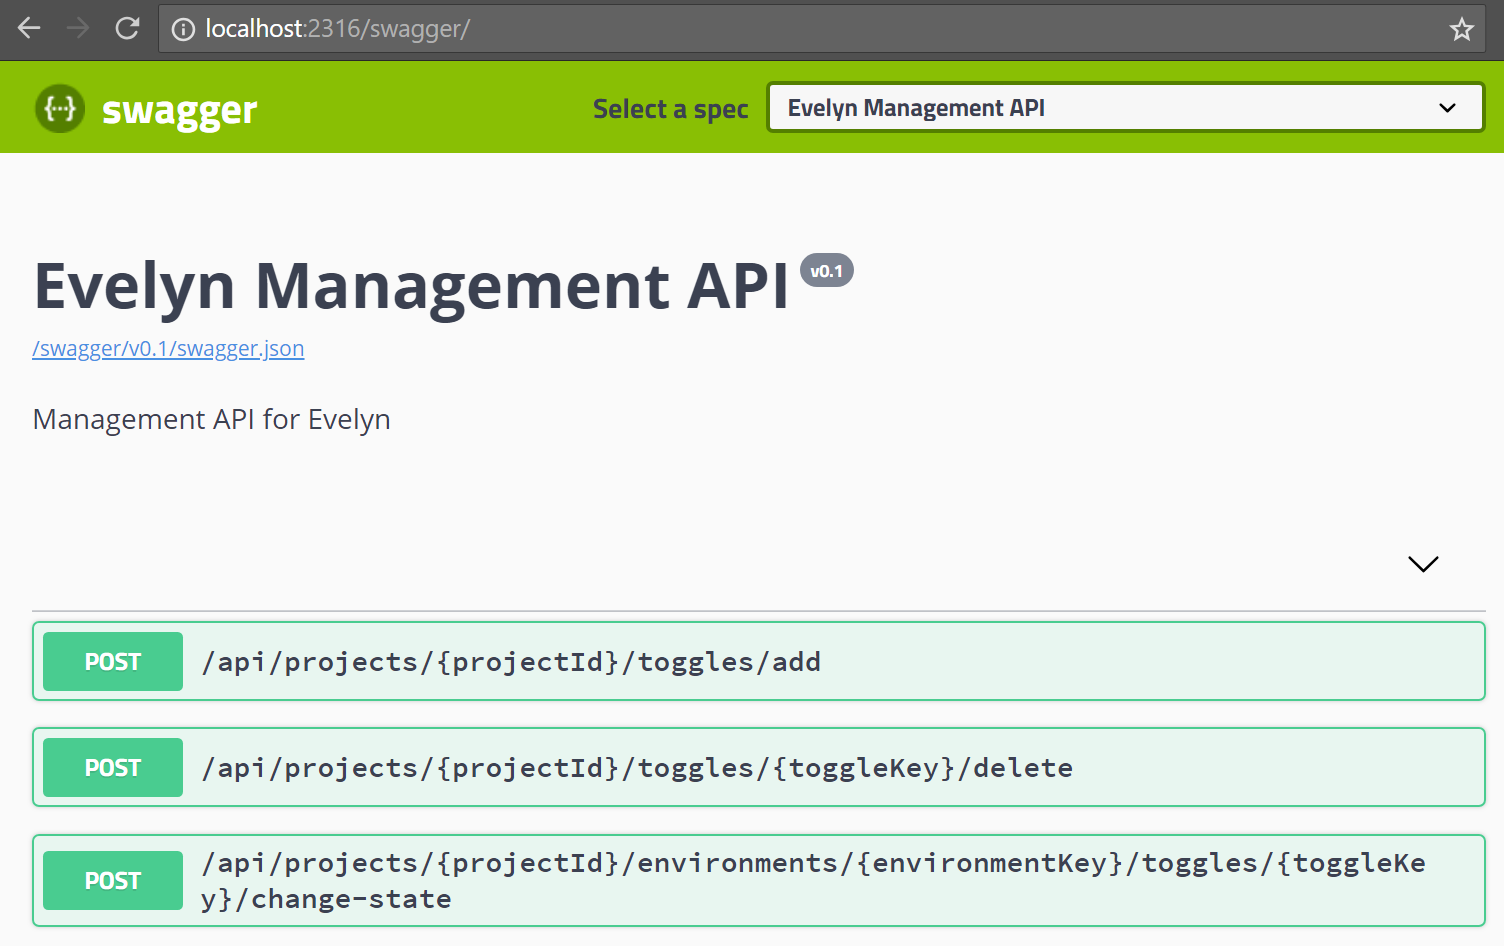
By default, the sample server host will listen on localhost:2316 - this is configured in ./src/Evelyn.Server.Host/Properties/launchSettings.json.
The Evelyn REST API endpoints are specified using OpenAPI. The sample server host is configured to show us this specification using Swagger UI. We can access the Swagger UI in a browser by navigating to /swagger/ endpoint of the server. So, if we’re using the default config, this will be at http://localhost:2316/swagger/.
When the server runs for the first time, it will set up a default account for us and add create some sample data to get us started. Lets check it is all set up correctly:
- In Swagger UI, expand the GET /api/projects section
- Click the Try it out button
- Click the Execute button
In Evelyn, a project is a logical collection of feature toggles and environments. The /api/projects endpoint returns us a list of all the projects on our account. When we click the Execute button, Swagger will make a call to this endpoint. The response should look something like this:
{
   "accountId": "e70fd009-22c4-44e0-ab13-2b6edaf0bbdb",
   "projects": [
      {
         "id": "8f73d020-96c4-407e-8602-74fd4e2ed08b",
         "name": "My First Project"
      }
   ],
   "created": "2018-05-27T15:58:13.6253741+00:00",
   "createdBy": "SystemUser",
   "lastModified": "2018-05-27T15:58:30.7611496+00:00",
   "lastModifiedBy": "SystemUser",
   "version": 1
}
We can see here that our account ID is e70fd009-22c4-44e0-ab13-2b6edaf0bbdb, and we have a project called My First Project which has the ID 8f73d020-96c4-407e-8602-74fd4e2ed08b.
Now we know the ID of the project, lets now get more details about it:
- Expand the GET /api/projects/{id} section
- Click the Try it out button
- In the id input box, enter the id of the project,
8f73d020-96c4-407e-8602-74fd4e2ed08b - Click the Execute button
The response should look something like this:
{
   "id": "8f73d020-96c4-407e-8602-74fd4e2ed08b",
   "name": "My First Project",
   "environments": [
      {
         "key": "my-first-environment"
      }
   ],
   "toggles": [
      {
         "key": "my-first-toggle",
         "name": "My First Toggle"
      }
   ],
   "created": "2018-05-27T15:58:30.7715006+00:00",
   "createdBy": "SystemUser",
   "lastModified": "2018-05-27T15:58:30.8970043+00:00",
   "lastModifiedBy": "SystemUser",
   "version": 2
}
We can see that the project has a single environment, my-first-environment and has one toggle, my-first-toggle.
So far so good. Now lets turn our attention to the client.